Woodware & comb care
Build Your Own Woodware: A Better Home for Your Bees
A practical first build: compatible boxes and frames, sound joints, untreated interiors and repairs that serve the bees—not just the workshop.
Mark Vanderende · October 29, 2026
BEGIN WITH THE BEES, NOT THE SAW
Building your own woodware is part of the 4H closed-loop journey. It connects the beekeeper with the home the colony will occupy and makes maintenance a skill rather than another purchase. The aim is not the cheapest box. It is sound equipment you understand, can handle safely and can repair before a small fault becomes a problem.
Start by confirming the hive system and frame size with your bee supplier or mentor. A June nuc arrives on existing frames: those frames must fit the home you have built. Mixing incompatible components can leave poor supports, awkward spaces and a hive that is difficult to close without trapping bees.
WORK FROM A PROVEN PLAN
Use a reliable plan for the exact system you have chosen. Check its dimensions against a known compatible box and frame before cutting a whole batch. Frame rests, internal spacing and the height of the assembled box matter as much as the outside appearance. This article is a readiness checklist, not a substitute for a dimensioned construction drawing.
Choose sound timber suitable for hive construction. Do not put pressure-treated timber, unknown coatings or salvaged wood with an uncertain contamination history inside the bee home. Reject splits that compromise strength. Ask an experienced woodworker to check the plan, material and joinery if you are learning.
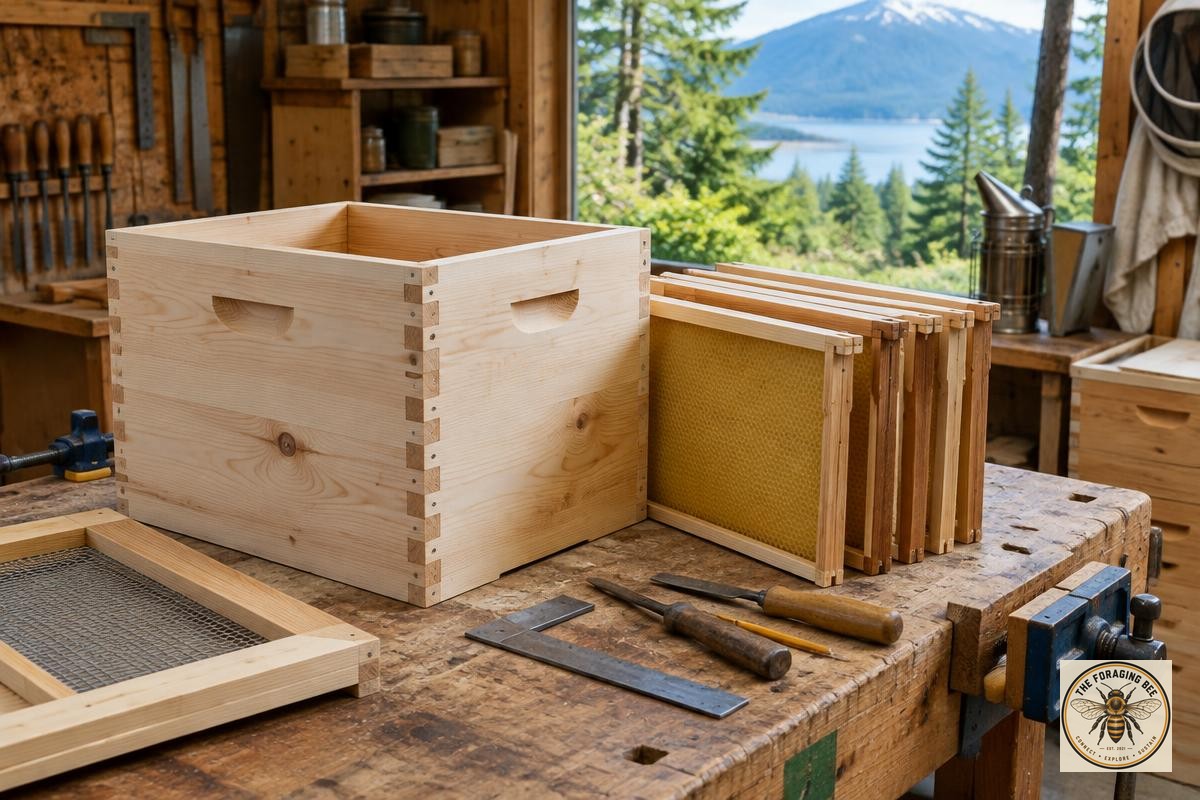
Build one box first. Dry-fit the joints, check that it sits square, and try it on the floor and beneath the cover it will actually use. Confirm the frames sit securely and can be removed individually. A box that looks good on a bench but rocks in a stack is not ready for bees.
PROTECT THE INSIDE, WEATHERPROOF THE OUTSIDE
Learn to make and repair hive boxes and frames. Keep interiors untreated and suitably rough, protect the propolis lining and let bees build natural comb.
Do not sand every internal surface to a polished finish or scrape away a healthy propolis lining for appearance. Remove only obstructions that prevent safe operation. Propolis supports the colony environment; it is not sterilisation or a substitute for health checks.
If you use an exterior finish, choose one suitable for the purpose, keep it off internal bee-contact surfaces and let it cure fully before introducing bees. Maintain roofs, joints and stands so water drains away rather than collecting against timber. Local climate and your equipment design should guide weather protection.
BUILD FRAMES YOU CAN HANDLE
Check frame joints, top bars and supports carefully. Natural comb needs a correctly prepared frame and a level hive. Fresh unsupported comb is fragile, especially when warm. Learn safe handling beside someone experienced; avoid laying a sheet of unsupported comb flat or adding space that a small colony cannot manage.
Woodworking and lifting need appropriate protection. Use guards, clamps, eye and hearing protection and skilled supervision for power tools. Children can help measure or decorate suitable exterior parts under a guardian, away from cutting tools and unfinished hazardous work.
MAKE REPAIR PART OF THE SEASON
Keep a small repair list: loose joints, damaged frame rests, split top bars, failing roof protection and an unstable stand. Label parts that are not ready for use rather than leaving them among serviceable boxes. Do not mix equipment of unknown bee-health history into the yard because it is free.
YOUR NEXT STEP
Choose one compatible plan, build or repair one box and check it with a mentor before making more. Record what fitted well and what needs changing. Happy starts with a home that works; Healthy includes biosecurity; Heavy depends on sound space and food; Harmony is learning to make what the bees actually need.