
Learning Objectives
- Assess winter readiness by weight, frame coverage and stores placement, not by the calendar.
- Feed heavy 2:1 syrup on a schedule that finishes curing before cold shuts down evaporation.
- Time a broodless oxalic acid treatment to the true end of brood rearing in the Similkameen.
- Winterize against moisture, mice and wind, understanding that damp kills more colonies here than cold.
- Consolidate marginal colonies by newspaper combine rather than wintering two units that will both fail.
- Build a September-through-November checklist you can run across every yard without missing a step.
Field infographic
Wintering checklist by weight
Princeton-area targets before the first hard freeze.
27–32 kg
Stores, full colony
60–70 lb of sealed honey. Heft the back; if you can lift it easily, feed it.
12–14 kg
Stores, nuc
Small cluster, full pantry. Nucs starve faster than they freeze.
2:1
Winter feed syrup
Sugar to water by weight, fed warm and finished before mid-October.
<1%
Mite load target
Treated before the winter bees are reared, not after.
Always
Upper entrance
Moisture and a cleansing exit. Condensation kills more colonies than cold.
Oct
Wrap & tilt
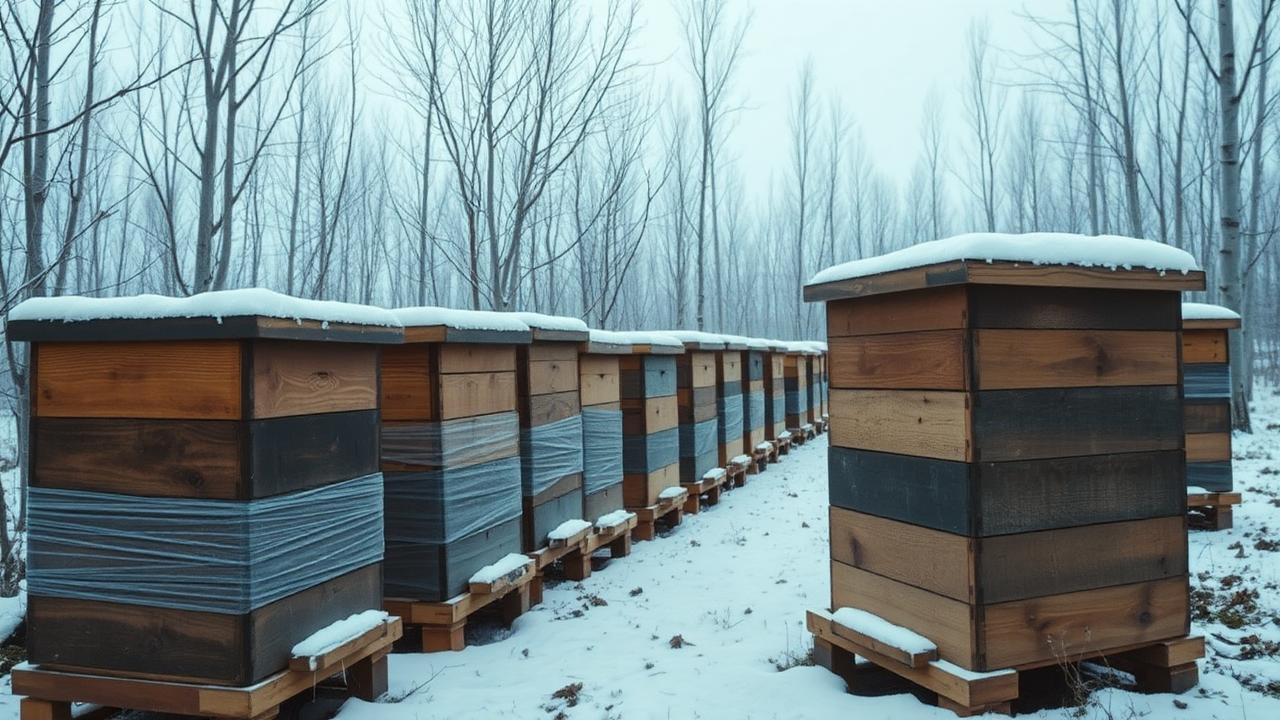
Black wrap, top insulation, front tilt so meltwater runs out.
Read these first
This chapter assumes the ground covered below. If any of it is unfamiliar, take the detour — the sequence exists so nothing here has to be taken on faith.
Reading mode
Cold does not kill colonies in this valley. Damp, starvation and mites do — usually in that order, and usually because September was busy with harvest and extraction and the consolidation work got pushed to October, when it was already too late to fix properly. Every autumn I walk yards where the beekeeper did everything right through July and then ran out of season in the six weeks that actually decide whether the bees see April.
Winter preparation is not a single day's task. It is a sequence that starts the week supers come off and ends with the first hard frost, and every step depends on the one before it. Feed a light colony syrup too late and it goes into winter with wet, uncapped stores that ferment. Treat for mites before consolidating a weak colony and you have wasted a treatment on a unit that will be combined away. Sequence matters as much as any individual action here.
Step one: honest assessment
The rear-heave test
Lift the back of the hive an inch, no more. If it comes up easily and swings free, the colony is light — full stop, no further debate needed before you act. If your shoulder and forearm feel resistance and the box settles heavily when you set it down, that colony has weight. Calibrate your hands once against a scale — literally weigh a hive, note the reading, then heave it and commit that resistance to memory — and you will never need a scale in the field again.
| Assessment | Total colony weight (hive + bees + stores) | Approx. stores alone | Action |
|---|---|---|---|
| Light | under 100 lbs (45 kg) | under 40 lbs (18 kg) | Feed heavily immediately or combine |
| Marginal | 100–130 lbs (45–59 kg) | 40–60 lbs (18–27 kg) | Feed to top up before cold sets in |
| Target / heavy | over 130 lbs (59 kg) | over 60 lbs (27 kg) | Monitor placement of stores only |
Note that this target is expressed as total hive weight, not stores alone — beekeepers who quote 90 lbs are often referring to stores plus woodware without the bees, and the numbers get confused between operations. Whatever number you use, use it consistently, calibrate it against an actual scale at least once a season, and write it in the record for every colony, every yard.
Stores placement matters as much as stores quantity
A colony can be heavy and still starve if the honey is in the wrong place. The winter cluster moves upward and, to a lesser extent, sideways as it consumes stores, following warmth more than it follows food in a straight line. Frames of honey stranded in an outer corner of the bottom box, disconnected from the cluster's line of travel, might as well not exist by February. On your last full inspection before consolidation, confirm that capped stores arch over and beside where the cluster is forming — typically the upper box, centred, with pollen frames just inside the brood nest's outer edge. If stores are lopsided, rearrange frames now while the bees can still move and reorient, not in November.

Student chapter
The rest of this chapter is behind the hive gate.
You are reading the open preview of "Autumn Consolidation: Heavy, Dry and Broodless". The full chapter — about 11 minutes of it, the beginner and advanced sidebars, the printable field cards and the paired Guelph video work all sit behind a Hive Key.
What a Hive Key opens
- Every chapter in full, both reading tracks
- Printable field cards — mite thresholds, feed schedule, queenright
- The Guelph HBRC video library, paired chapter by chapter
- The Princeton season dashboard, twice a month
How to get one
Hive Keys are issued to Hive Awakening students. Book a seat at the Princeton apiaries and your key comes with the confirmation — Tier 1 for the Beginner Masterclass, Tier 2 for the Master's Apiary.
See the 2027 workshops →Track your way through the curriculum
Students with a Hive Key get completion ticks, percent-through-track and a resume button across every chapter.
Open the student desk →From Section IV — Peak Flow, Summer Management & Varroa